Tired of Hip Dips? It Might Be Your Glute Medius! Solve It with Hip Abduction.
Do you look in the mirror and see a sunken hollow on the sides of your hips, or a “squashed pepper” shape? These “hip dips” trouble many women and fitness beginners. While bone structure plays a role, a primary cause is the weakened or underdeveloped gluteus medius, the muscles located on the sides of your hips.
The gluteus medius supports the larger gluteus maximus from above and plays a crucial role in stabilizing the pelvis. When it weakens, the overall contour of your buttocks drops, making those side hollows more noticeable.
The solution? The hip-opening exercise, hip abduction! By targeting and strengthening your gluteus medius with hip abduction, you can achieve these amazing benefits:
- Create a beautifully rounded “peach butt” shape: Fills in the hip dips from the inside, creating ideal curves.
- Stabilize your pelvis and improve walking gait: Corrects core instability and alignment issues during single-leg stances and walking, leading to smoother movement.
- Improve posture, potentially preventing a protruding belly and back pain: Pelvic stabilization leads directly to better posture and prevention of discomfort.
Want to rock those skinny jeans or achieve a stable, sculpted core? Incorporate hip abduction into your training routine today!
Achieve Perfect Peach Glutes and a Stable Core! The Correct Way to Perform Hip Abduction (Machine & Tube)
Hip abduction can be done using gym machines or with resistance bands at home. Let’s master the correct form for both.
Gym Version: Correct Machine Hip Abduction Technique
Gym machines offer a stable range of motion, making it easier for beginners to focus on the gluteus medius.
- Adjust the seat position: Sit back deeply on the seat, with your back firmly against the backrest (for a variation, you can lean slightly forward, but start with an upright posture).
- Align the pad with the outside of your thighs: Position the pad to press against the outside of your knees to your thighs.
- Exhale and open outwards using your glutes: Instead of using your feet or calves, imagine pushing from the side of your hips at the base of your joint, and slowly open outwards.
- Return slowly with control: Lower the weight back slowly, feeling the resistance, until you are just before the point where the weight completely disengages (before the “clank”).
Home Version: Correct Tube Hip Abduction Technique
For home training, we recommend using a mini-resistance band (tube). Here’s how to do “Standing Hip Abduction”:
- Wrap the tube around your thighs, just above the knees, or around your ankles: (Beginners may find it easier to control with the band above the knees).
- Place your hands on a wall or chair back for support, keeping your body straight: Stand with your weight on one leg, slightly bending the supporting leg for stability.
- Open the leg you’re training towards a point slightly behind your body, rather than directly to the side: Opening too far to the side can cause your lower back to arch. Opening at a slight angle (about 15-30 degrees backward) allows you to directly target the posterior fibers of the gluteus medius.
- Maintain stability in your supporting leg and aim for 15-20 repetitions.
The Cause of Ineffectiveness: Pelvic Tilt and Excessive Arching! 3 Rules for Direct Glute Medius Stimulation
Do you hear yourself saying, “I’m doing hip abduction, but I don’t feel it in my glutes,” or “My front thighs and outer thighs get tired instead”? To ensure 100% of the load reaches your target gluteus medius, strictly follow these three rules:
Rule 1: Prevent Excessive Lower Back Arching (Maintain a Neutral Pelvis)
If you arch your back excessively and try to open your legs in a “swayback” posture, the load will shift to your lower back muscles (like the quadratus lumborum) and thigh muscles, instead of your glutes. Lightly engage your core and maintain a straight (neutral) pelvic position.
Rule 2: “Abduct” Your Hip Joint
The primary mover for opening your legs (hip abduction) is the gluteus medius. If your toes point too far outwards, your quadriceps and tensor fasciae latae (outer thigh muscle at the hip) will overwork. Keep your toes pointed forward or slightly inwards, and focus on the sensation of your side glutes contracting.
Rule 3: Avoid Using Momentum and Focus on the Negative (Return) Phase
Opening with force and returning with a “thud” is a no-go. By “open for 2 seconds, hold at the peak for 1 second, and return for 3 seconds”, you’ll dramatically increase muscle hypertrophy and toning effects by resisting the load during the lengthening phase (eccentric contraction).
*If you feel severe pain in your hip joints or lower back during training, stop immediately and consult a medical professional.*
Control Hip Abduction Angle and Pelvic Tilt Perfectly with OrionFit’s AI Camera! Smart Training to Prevent Errors
Do you find yourself thinking, “I don’t know if my hip joint is opening at the correct angle with the current weight,” or “As I get tired, my range of motion decreases and my form breaks down without me realizing it”?
The smart fitness app “OrionFit” solves these challenges in home and gym workouts.
OrionFit App: Your Powerful Partner for Glute Training
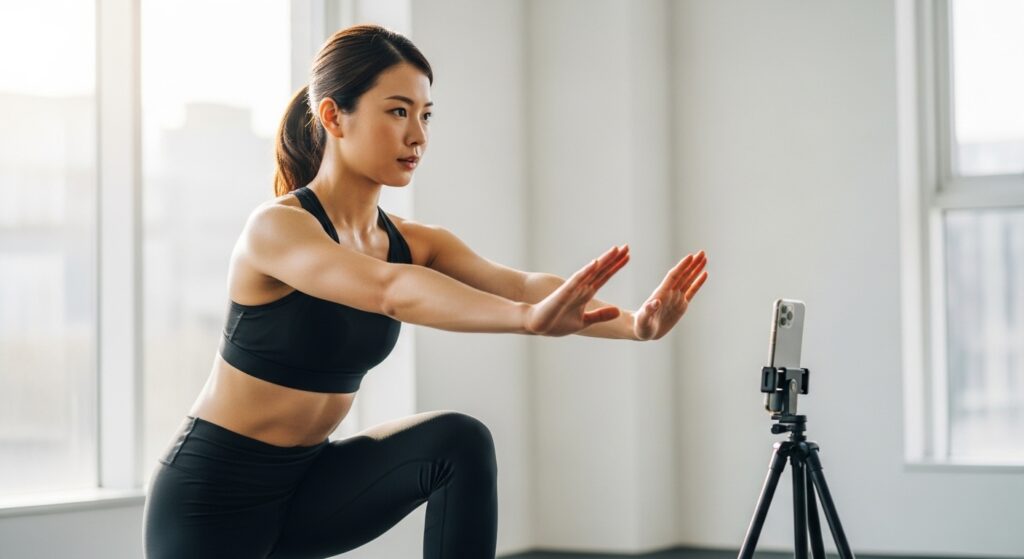
OrionFit is a revolutionary app that uses your smartphone’s camera to intelligently support your training performance.
Achieve “High-Quality Reps” with AI Rep Counting
OrionFit’s AI camera feature real-time recognizes if you’ve reached your set “target hip abduction angle” and automatically counts your reps.
- Incomplete reps due to reduced range of motion from fatigue won’t be counted.
- Only “correct reps” that fully open your glutes to the target angle are recorded, significantly enhancing the quality of each workout.
*(Note: This feature is not for precise form analysis or error detection. It serves as an auxiliary function for movement confirmation via camera and smooth rep counting.)
Maximize Motivation with the Scoring System!
Furthermore, the app provides an advanced score for your overall workout session performance (based on angle consistency and rep tempo rhythm). Competing against your previous scores in a game-like manner fuels the motivation to push through those tough final reps to your limit.
Push Your Gluteus Medius to the Limit, Anywhere! Maximize Your Glute Workout with OrionFit’s Smart Tracking
To achieve your ideal rounded glutes and a sculpted pelvic area, consistency, gradual progression of load (progressive overload principle), and maintaining correct form are paramount.
After training, ensure you refuel with nutrients like protein, which are the building blocks for muscle, and maintain a balanced diet. Avoid extreme calorie restriction or fasting, as these can lead to muscle loss.
Why not transform your smartphone into your personal trainer starting today?
Accelerate Your Glute Body Makeover with OrionFit!
OrionFit app visualizes your daily workouts and supports scientific body sculpting with just your smartphone.
- Accurate rep counting & movement confirmation with AI camera
- Scoring system to visualize overall session performance
- Pro Plan Exclusive: AI provides personalized smart advice on form improvement and training frequency based on your accumulated workout data
If you’re determined to break the cycle of quitting after a few days or want to fundamentally change your glute shape, let’s design your ideal body smartly, enjoyably, and on the fastest route with OrionFit!
Install the app now via the link below and start your new fitness experience!