Why Clamshells are Essential for Toned Glutes and Better Posture
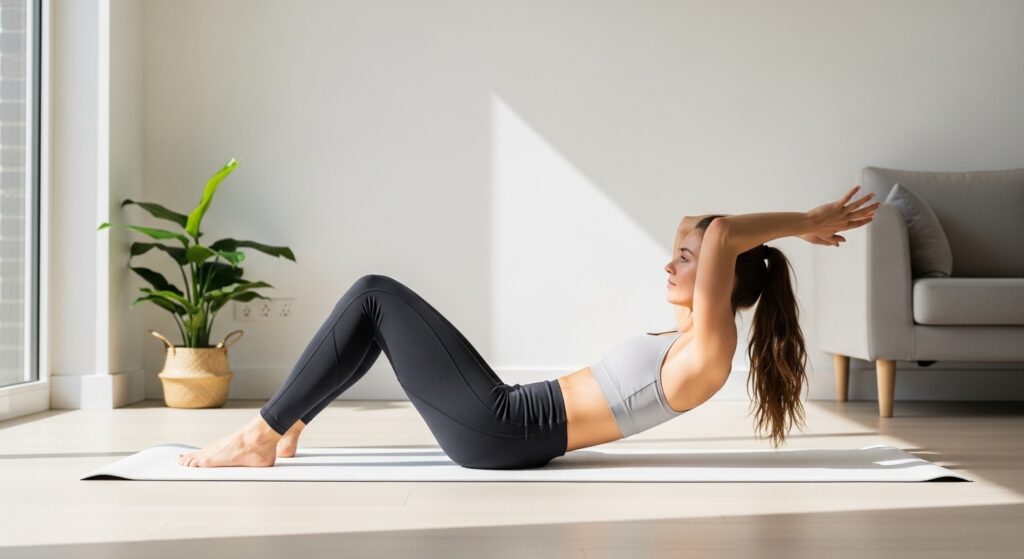
Are you struggling with saggy glutes, pelvic misalignment, or poor posture? If squats feel too intense or cause joint pain, the clamshell exercise is your perfect solution! It is a simple, low-impact floor exercise that delivers incredible results for your lower body.
Named after the way a clam opens and closes, this movement targets specific deep muscles that are crucial for a stable, sculpted lower body.
Target Muscle 1: Gluteus Medius (The Upper Glutes) – Located on the outer side of your hip, this muscle lifts your buttocks and creates a rounded, toned shape. Weakness here leads to sagging and a wider hip appearance.
Target Muscle 2: Deep Lateral Rotators (Pelvic Stabilizers) – These deep muscles support hip rotation and keep your pelvis aligned. Strengthening them offers incredible benefits:
– Corrects Bow Legs & Posture: Aligns the hips to straighten and beautify your leg lines.
– Fixes Pelvic Tilt: Stabilizes the pelvis, reducing bloating and lower belly protrusion.
– Prevents Injuries: Increases hip mobility, making daily movements smoother and reducing joint stress during other workouts.
*If you feel any sharp pain during the exercise, please stop immediately and consult a doctor. Safety first!
How to Do Clamshells: Correct Form and Common Mistakes
To maximize results and avoid injury, mastering the correct technique is crucial. Follow this step-by-step guide:
1. Start Position: Lie on your side, supporting your head with your hand or arm. Bend your knees at a 90-degree angle and keep your heels together. Your hips should be at a 45-degree angle.
2. The Open: Keeping your pelvis completely perpendicular to the floor, exhale and slowly open your top knee toward the ceiling. Keep your feet glued together.
3. Hold and Control: Squeeze your outer glute at the top for one second, then slowly lower your knee while resisting gravity.
4. Repetitions: Perform 15 to 20 reps per side for 3 sets.
Common Mistakes to Avoid:
– Rolling the Pelvis Backwards: Do not swing your body back to lift your knee higher. Keep your hips stacked and square to the front.
– Moving Too Fast: Rushing ruins the engagement of your inner muscles. Aim for a controlled 3-second lift and 3-second lower.
– Losing Core Engagement: Keep your belly button pulled in to stabilize your spine and protect your lower back.
Level Up Your Home Workouts with OrionFit’s AI Camera
While the clamshell is simple, knowing if you are opening your legs to the correct angle and maintaining balance on both sides is hard without a personal trainer. This is where the OrionFit app comes in!
AI-Powered Rep Counting: OrionFit utilizes your phone’s front camera to track your movements. It automatically counts your repetitions when you reach the correct angle, allowing you to focus entirely on your muscles and breathing. *(Note: This feature is designed for movement tracking and count support, not for medical analysis.)*
Visualize Side-to-Side Balance: By analyzing your range of motion, OrionFit helps you notice if one side is tighter than the other, allowing you to correct muscle imbalances and achieve a symmetrical, beautiful physique.
Smart Scoring & AI Coaching: The app grades your overall workout based on stability and rhythm, keeping you motivated. With the Pro Plan, you receive personalized AI coaching advice based on your workout history to help you reach your goals faster.
Get Started Today!
Ready to transform your lower body and build a healthier posture? Download the OrionFit app now to ensure perfect form and track your progress daily. Start your fitness journey today!